Install and Configure Ansible Extension for VSCode
By Luca Berton · Published 2024-01-01 · Category: installation
Learn how to install and configure the Ansible extension for VSCode. Follow this guide to streamline your Ansible playbook and role development process.
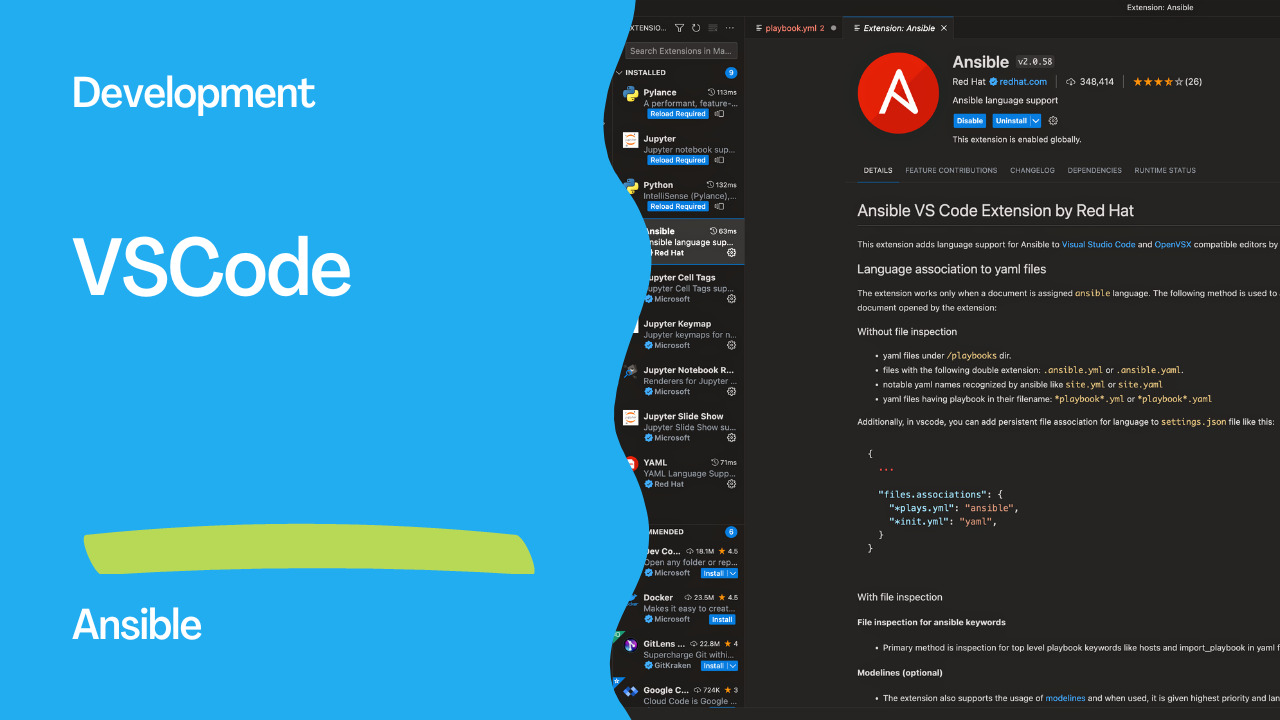
As an Ansible automation expert, I often use Visual Studio Code (VSCode) as my integrated development environment (IDE) for writing Ansible playbooks and roles. VSCode provides a powerful and user-friendly interface that streamlines the development process. In this article, I will guide you through the steps to install Ansible VSCode on your local machine.
Step 1: Install VSCode
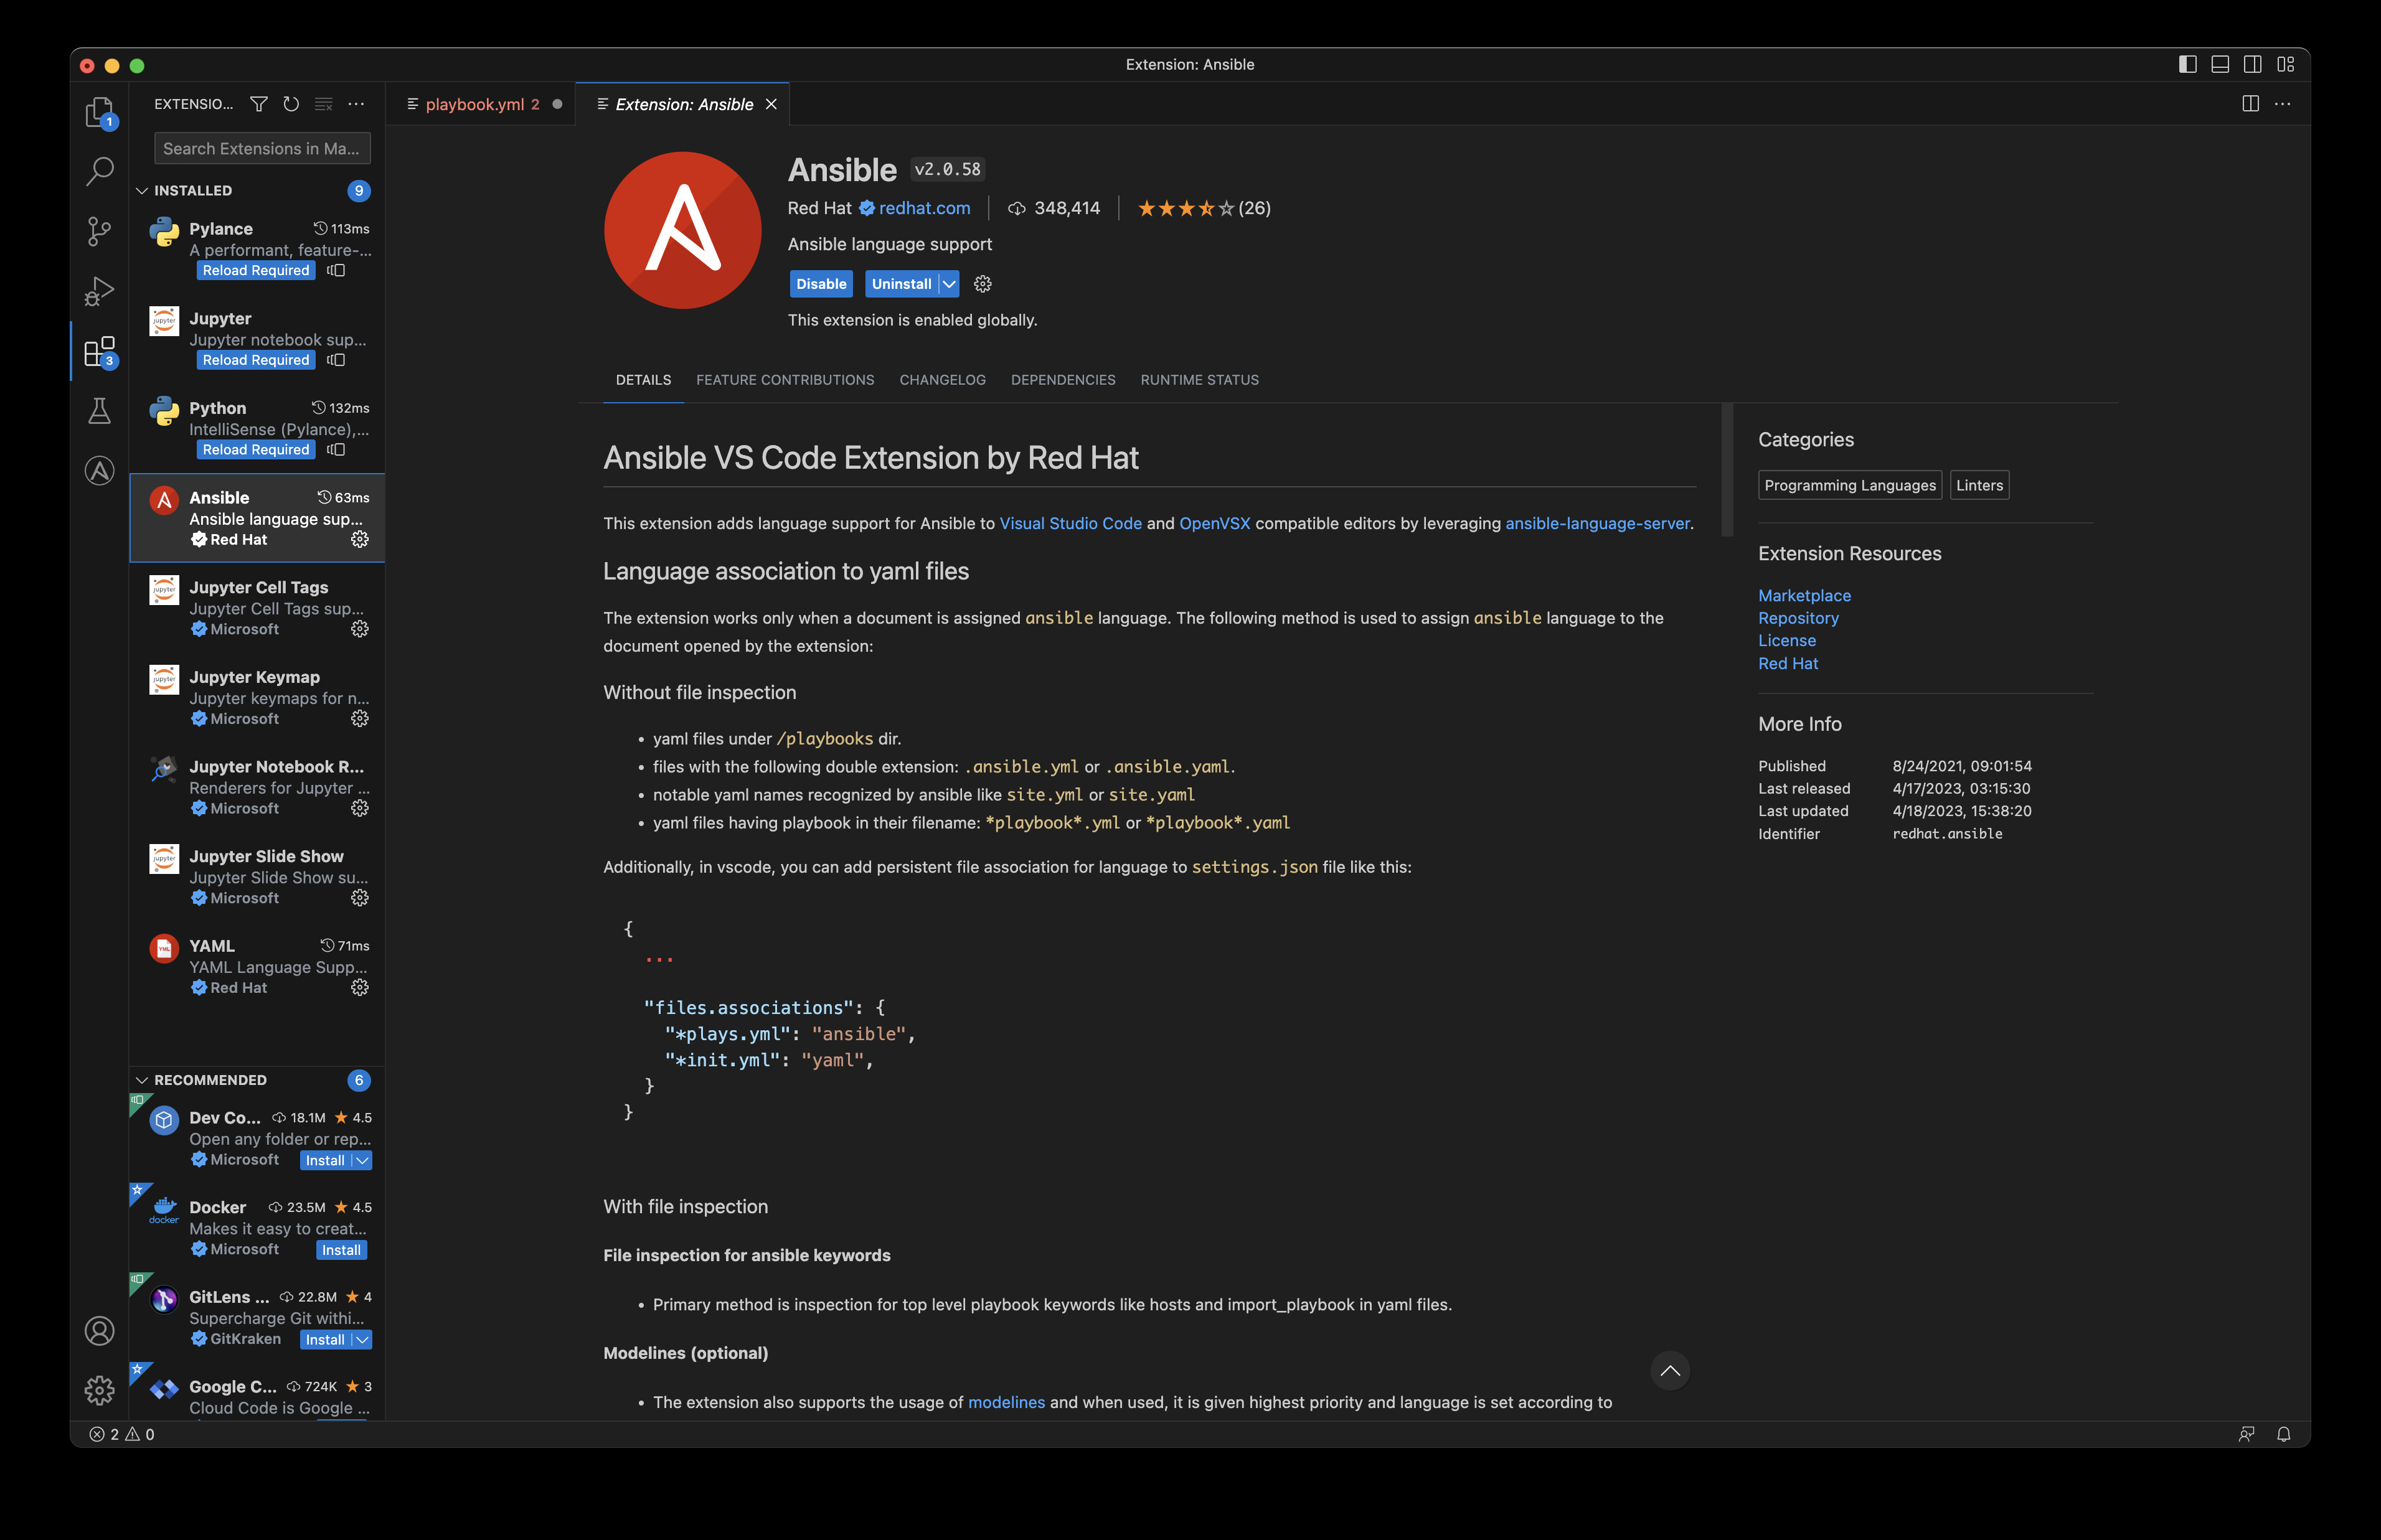
The first step is to install Visual Studio Code on your local machine. You can download and install VSCode from the official website. Once installed, open VSCode and navigate to the extensions tab on the left-hand side of the screen.Step 2: Search for the Ansible Extension
In the extensions tab, search for the Ansible extension by typing "ansible" in the search bar. Select the "Ansible" extension by Microsoft from the list of results. Click on the green "Install" button to install the extension.Step 3: Install Required Dependencies
In addition to the Ansible extension, you will also need to install a few dependencies to use Ansible with VSCode. These dependencies include:- Python: VSCode uses Python to execute Ansible playbooks and roles. Install Python 3.6 or later if you don't have it installed already.
- Ansible: Install Ansible on your local machine using pip. You can install Ansible by running the command
pip install ansible.
- Ansible-Lint: Ansible-Lint is a tool that checks your Ansible code for potential issues and errors. Install Ansible-Lint by running the command
pip install ansible-lint.
Step 4: Configure VSCode
Once you have installed the Ansible extension and its dependencies, you need to configure VSCode to use them. Open your VSCode settings by clicking on the gear icon in the bottom left-hand corner and selecting "Settings".In the search bar at the top of the settings tab, type "ansible". This will show you the Ansible-related settings in VSCode. You can configure the following settings:
- Ansible: Path: Set the path to the Ansible executable on your local machine.
- Python: Set the path to the Python executable on your local machine.
- Ansible: Configuration Files: Set the path to your Ansible configuration files.
- Ansible: Galaxy Server Url: Set the URL of the Galaxy server to use for Ansible Galaxy roles.
Result
Configure it in settings.json
The settings above can also be edited directly. Open the Command Palette
(Ctrl+Shift+P / Cmd+Shift+P), run Preferences: Open User Settings (JSON),
and point the extension at the Python environment where you installed Ansible:
{
  "ansible.python.interpreterPath": "/path/to/venv/bin/python",
  "ansible.validation.lint.enabled": true,
  "ansible.validation.lint.path": "/path/to/venv/bin/ansible-lint"
}
Fix "Ansible not found in the environment"
This is the most common first-run problem: the extension installs fine but pops
up "Ansible not found in the environment" (or shows no linting/autocompletion).
It means the extension's Python interpreter can't see your ansible install —
almost always because Ansible lives in a virtual environment the extension isn't
using. To fix it:
- Confirm where Ansible is installed:
which ansible(orpip show ansible). - Set
ansible.python.interpreterPathto the Python from that same environment
bin/python next to your ansible binary).
- Reload the window — Developer: Reload Window from the Command Palette.
Enable autocompletion on your playbooks
The extension only provides IntelliSense, hover docs, and validation when the file is recognized as the Ansible language, which it auto-detects for common paths. To force it on a specific file, add a modeline as the first line:
---
# code: language=ansible
Or map your playbook/task paths to the Ansible language globally in
settings.json:
{
  "files.associations": {
    "**/playbooks/*.yml": "ansible",
    "**/tasks/*.yml": "ansible"
  }
}
Links
Conclusion
Visual Studio Code is a powerful IDE for writing Ansible playbooks and roles. By following the steps outlined in this article, you can easily install and configure the Ansible extension for VSCode on your local machine. With VSCode, you can streamline your Ansible development process and catch potential issues and errors with Ansible-Lint.
See also: Ansible expect Module: Automate Interactive Commands (Examples)
Related Articles
Category: installation