Configure XFS Filesystem with Quotas on Fedora
By Luca Berton · Published 2024-01-01 · Category: installation
Step-by-step guide to mounting XFS filesystems with user and group quotas on Fedora using fstab and systemd mount units.
Managing storage is a critical aspect of system administration, and the XFS filesystem is a popular choice due to its performance and scalability. This guide explains how to configure an XFS filesystem with quotas on Fedora, using both /etc/fstab and systemd mount units.
Introduction
This article walks you through the steps to:
- Configure an XFS filesystem on a secondary disk.
- Enable user (
uquota) and group (gquota) quotas. - Manage mounts using
/etc/fstabor systemd units.
See also: Ansible Delete File: Remove Files & Directories (state=absent Guide)
Prerequisites
- A secondary disk (e.g.,
/dev/nvme0n2p1) is attached to your system. - Familiarity with basic Linux commands.
Configure the XFS Filesystem
1. Identify the Disk
Use lsblk to identify the disk and its partition:
lsblk/dev/nvme0n2p1) is recognized.
2. Format the Partition
If the disk is not formatted, initialize it with the XFS filesystem:
sudo mkfs.xfs /dev/nvme0n2p13. Create a Mount Point
Create a directory where the filesystem will be mounted:
sudo mkdir /mnt/dataEnable Quotas in /etc/fstab
To enable quotas during boot, edit /etc/fstab:
sudo nano /etc/fstabAdd an entry for the partition:
UUID=27acffe0-c3d5-43b7-8614-baa5d9ffce60 /mnt/data xfs uquota,gquota 0 0Find the partition’s UUID using:
blkidRemount and Verify
Remount all filesystems:
sudo mount -aVerify the mount options:
mount | grep /mnt/dataSee also: ansible.builtin.find Module: Search Files by Pattern, Size & Age (Guide)
Use Systemd Mount Units for Advanced Configuration
Create the Systemd Unit
Create a custom systemd unit file:
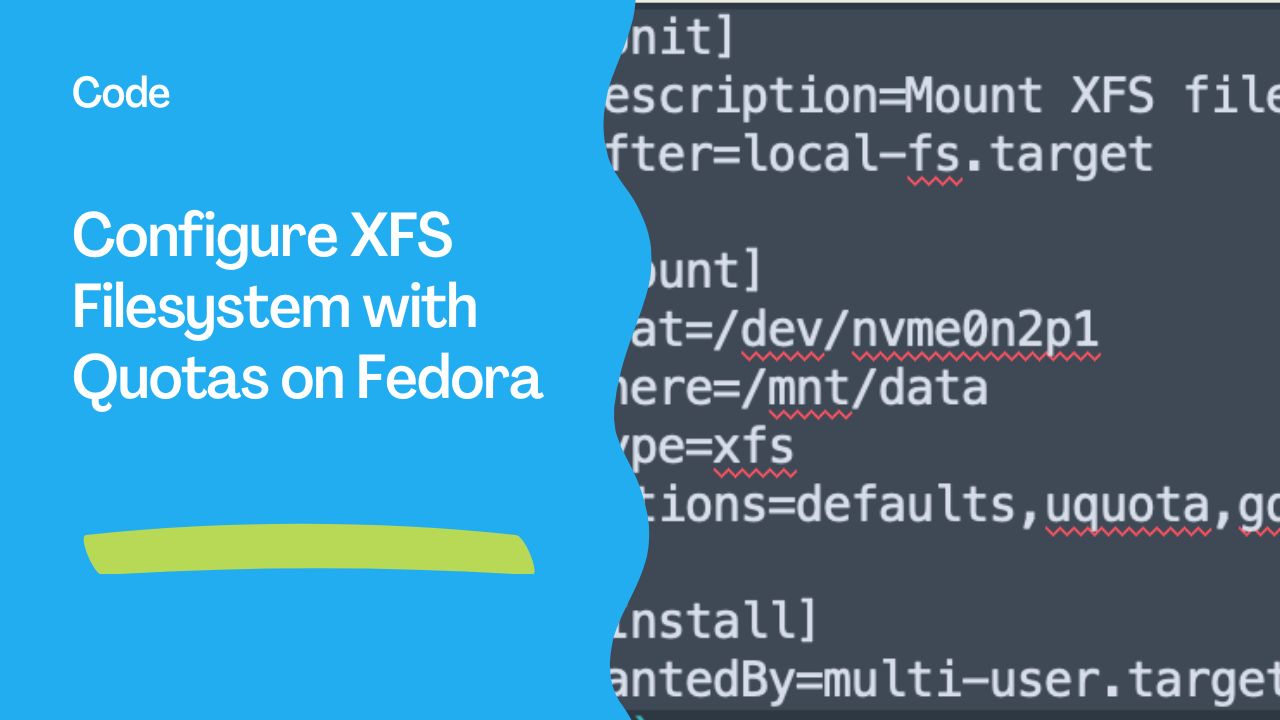
sudo nano /etc/systemd/system/mnt-data.mountAdd the following configuration:
[Unit]
Description=Mount XFS filesystem with quotas on /mnt/data
After=local-fs.target

[Mount]
What=/dev/nvme0n2p1
Where=/mnt/data
Type=xfs
Options=defaults,uquota,gquota

[Install]
WantedBy=multi-user.target
Enable and Start the Unit
Reload systemd and enable the unit:
sudo systemctl daemon-reload
sudo systemctl enable mnt-data.mount
sudo systemctl start mnt-data.mount
Verify the status:
sudo systemctl status mnt-data.mountCheck the Mount
Ensure the filesystem is mounted with quotas:
mount | grep /mnt/dataInitialize Quotas
Enable quotas on the XFS filesystem:
sudo xfs_quota -x -c "quota" /mnt/dataCheck quota status:
sudo xfs_quota -x -c "report" /mnt/dataSee also: Ansible Search String in File: lineinfile & regex Guide
Optional: Set User and Group Quotas
To set quotas for a user:
sudo xfs_quota -x -c "limit bsoft=500m bhard=600m username" /mnt/dataView quota usage:
sudo xfs_quota -x -c "report -h" /mnt/dataVerify Persistence
Reboot the system to confirm the configuration:
sudo rebootAfter reboot, verify the mount and quotas:
mount | grep /mnt/data
sudo xfs_quota -x -c "report" /mnt/data
Conclusion
You have successfully configured an XFS filesystem with quotas on Fedora. Whether you use /etc/fstab or systemd, this guide ensures your filesystem is ready to enforce storage limits for users and groups.
--- If you found this guide helpful, consider supporting the community or sharing your success story!
References
Related Articles
Category: installation